Beyond Kale Chips: Why Homemade Kale Crackers Are Your New Go-To Snack
Are you constantly on the hunt for that perfect crunchy snack – one that satisfies your cravings without the guilt? If you've been a loyal fan of kale chips, prepare to have your snack world rocked. While kale chips have long held the crown for healthy, leafy green munching, there's a new, equally delightful and even more versatile contender stepping into the spotlight: simple homemade kale crackers. These aren't just a fleeting trend; they're a revelation for anyone seeking a wholesome, incredibly satisfying, and utterly delicious alternative to processed snacks or even their much-loved chip counterparts.
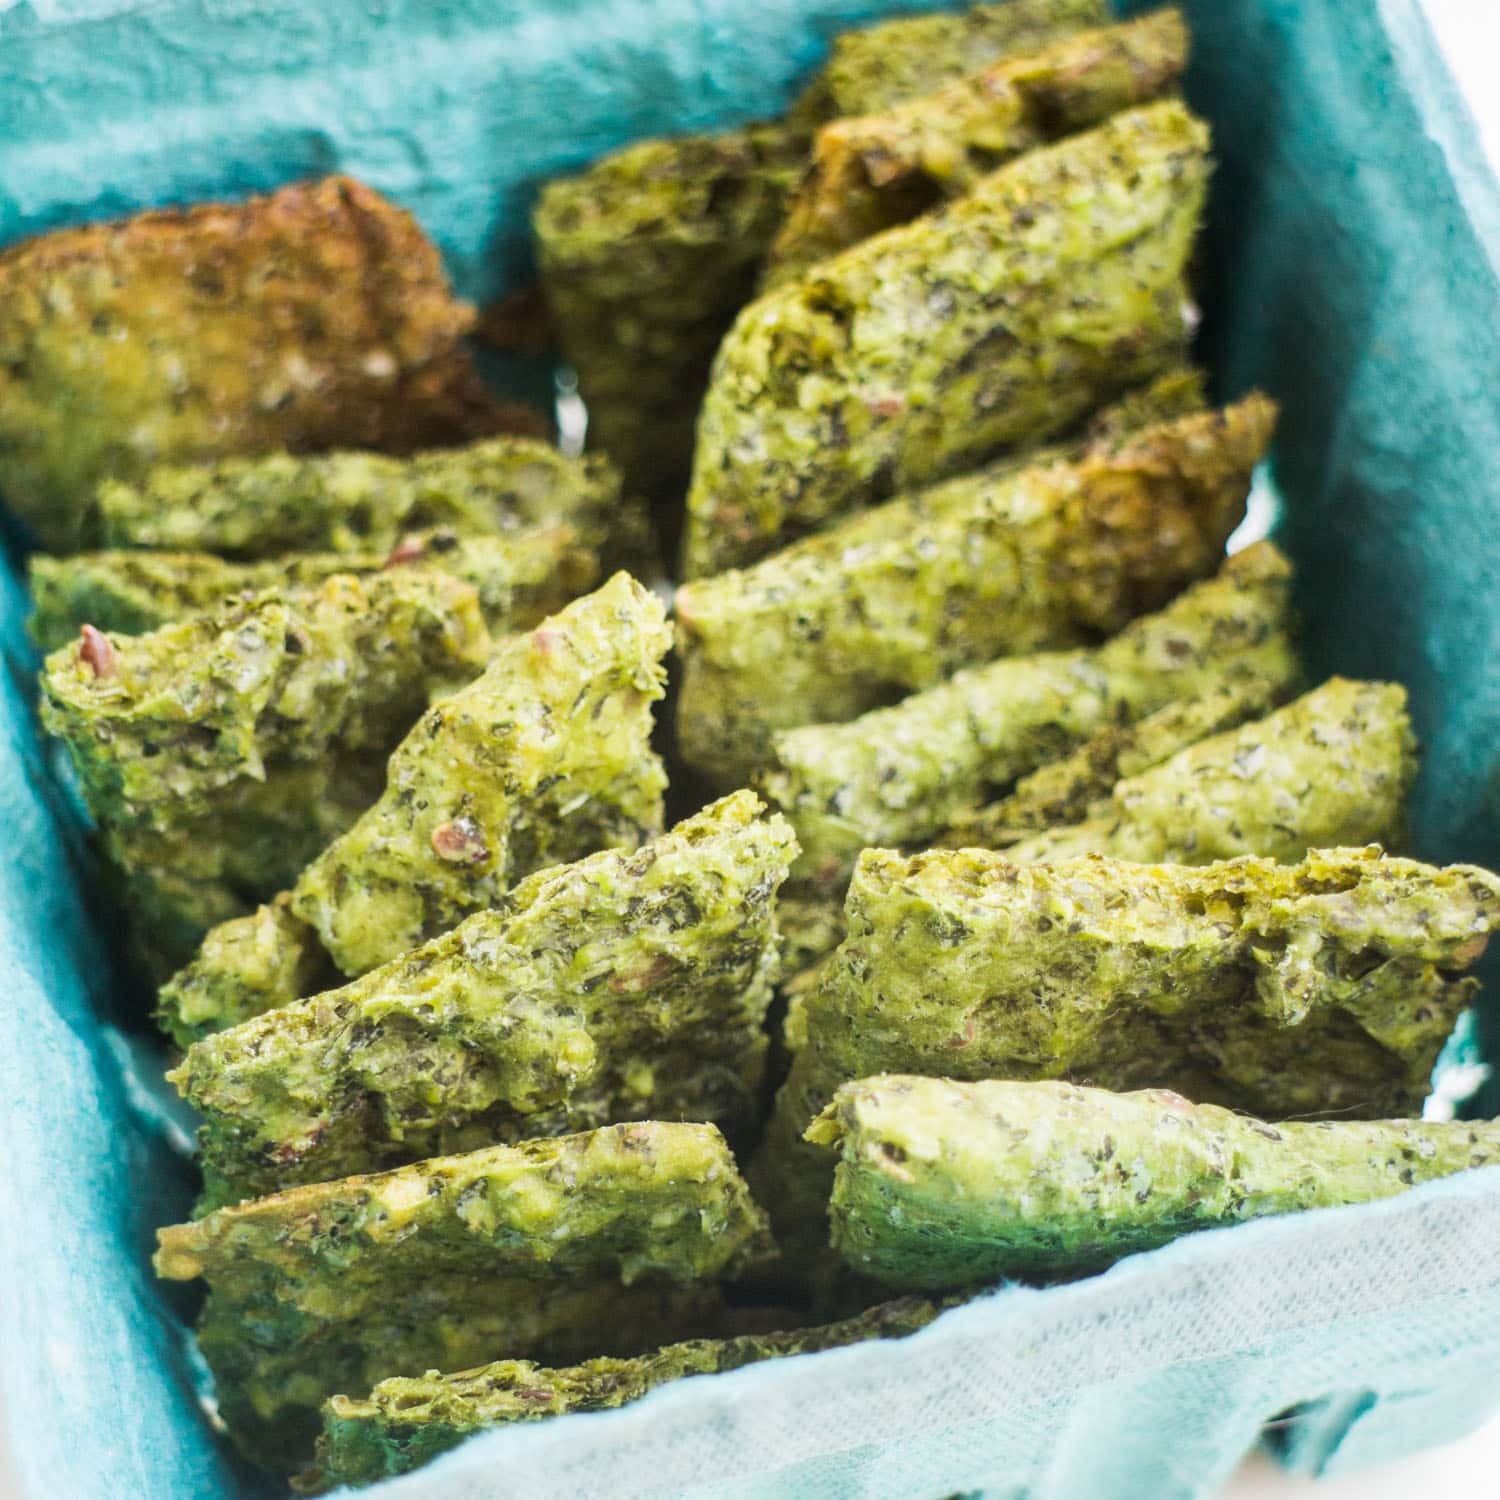
Imagine a snack that delivers an unparalleled crunch, bursting with the earthy goodness of fresh kale, fortified with nutritious seeds, and made with ingredients you likely already have in your pantry. That's precisely what these homemade kale crackers offer. Forget about the sometimes-fickle nature of kale chips, which can burn easily or lack consistent crispness. These crackers provide a robust, sturdy crunch, making them perfect for dipping, topping, or simply enjoying on their own. Best of all, they come together in roughly 45 minutes from start to finish, proving that healthy eating doesn't have to be complicated or time-consuming.
At various points throughout the day, the snack attack is real for many of us. Whether you're an afternoon snacker, a late-night grazer, or managing a household of "all-day snackers," having a truly guilt-free option is invaluable. Instead of reaching for that bag of potato chips, you can confidently grab a handful of these nutrient-dense crackers. They are not just an excellent way to incorporate more greens into your diet; they transform a humble bunch of kale into a crispy, crave-worthy treat that both kids and adults will adore. Get ready to embrace the joy of a truly healthy, homemade crunch.
The Power of Pantry Staples: What You Need for Simple Homemade Kale Crackers
One of the most appealing aspects of creating your own simple homemade kale crackers is the accessibility of the ingredients. You won't need to embark on a special grocery run to exotic stores; chances are, most of what you require is already nestled in your kitchen cupboards or refrigerator. This recipe champions everyday staples, transforming them into something extraordinary.
Let's break down the core components that make these crackers so fantastic:
- Fresh Kale: The star of the show! You'll typically use one standard bunch, which is about 7-8 ounces. Kale is packed with vitamins K, A, and C, as well as antioxidants. Using a food processor helps break down the tough leaves into a smooth puree, making the greens practically undetectable in the final cracker for picky eaters, while retaining all their nutritional benefits. It's also an ingenious way to utilize an abundance of kale, perhaps from a thriving garden or that bunch you picked up at the farmer's market.
- Olive Oil: More than just a lubricant for blending, olive oil contributes to the crackers' rich flavor and delicate crispness. Its healthy monounsaturated fats also add a beneficial nutritional punch. Opt for extra virgin olive oil for the best flavor profile.
- Flax Seeds: These tiny powerhouses serve multiple roles. They act as an excellent binder, helping to hold the dough together, especially when combined with egg. Beyond their functional role, flax seeds are a fantastic source of omega-3 fatty acids, fiber, and lignans, adding significant nutritional value to your snack.
- Flour: This forms the essential structure of your crackers. All-purpose flour works perfectly for a reliable dough base, but you can also experiment with whole wheat flour for an even higher fiber content and a nuttier flavor. The key is finding a balance that yields a pliable dough and a crisp cracker.
- Egg: The egg is crucial for binding all the ingredients into a cohesive, sticky dough. It also contributes to the cracker's texture and a slight richness.
- Salt and Sugar: These humble seasonings are vital for balancing the flavors and enhancing the overall taste of your crackers. A touch of salt brings out the kale's natural notes, while a hint of sugar can subtly counter any bitterness and create a more rounded, appealing flavor profile. Don't be tempted to skip the sugar entirely, as it plays a role in browning and flavor depth.
- Water: Depending on your flour and the moisture content of your kale, a bit of water may be needed to achieve the perfect dough consistency – not too dry, not too wet.
With these simple ingredients, you're well on your way to crafting a truly extraordinary snack. The beauty lies in their simplicity and how they come together to create a profoundly satisfying experience.
Blend, Roll, Bake: Your Step-by-Step Guide to Perfect Kale Crackers
Making simple homemade kale crackers is an incredibly straightforward process, especially with the aid of a food processor. It truly is a matter of blending and baking, making it accessible even for novice bakers. Here’s how you can achieve that irresistible crunch in your own kitchen:
1. Prepare Your Kale
Begin by thoroughly washing your bunch of fresh kale. It's crucial to remove the tough, fibrous stems. Simply tear the leafy greens away from the central rib. Once de-stemmed, rip the leaves into smaller, manageable pieces. This helps them process more efficiently and ensures an even puree.
2. Create the Kale Puree
Place your torn kale leaves into the bowl of your food processor. Add the olive oil. This oil aids in breaking down the kale, helping to create a smoother puree and also prevents the leaves from sticking to the sides of the processor. Pulse until the kale is finely chopped and begins to form a thick, vibrant green paste. Scrape down the sides of the bowl as needed to ensure all pieces are uniformly processed.
3. Form the Cracker Dough
To the kale puree in the food processor, add your flour, flax seeds, salt, sugar, and egg. Begin to pulse the mixture. As it combines, gradually add water, a tablespoon at a time, until a cohesive, sticky dough forms. The exact amount of water can vary based on your flour's absorption and the moisture in your kale, so add it cautiously until the dough comes together into a ball that's still tacky but not overly wet. You want it firm enough to roll out.
4. Flatten and Shape Your Crackers
Lightly dust a clean work surface or a piece of parchment paper with a bit of flour. Transfer the dough onto this surface. Dust the top of the dough with a little more flour and place another sheet of parchment paper over it. Using a rolling pin, flatten the dough evenly to about 1/4 inch thick. Aim for as consistent a thickness as possible to ensure even baking. Once rolled, carefully remove the top layer of parchment paper.
Now, for shaping: using the blunt edge of a knife or a pizza cutter, gently score the dough halfway through, creating horizontal and vertical lines to form your desired cracker shapes (squares or rectangles work best). This scoring isn't to cut all the way through, but to make it easier to break the crackers apart once they're baked and cooled. Sprinkle a little extra salt over the flattened dough for added flavor.
5. Bake to Crispy Perfection
Carefully transfer the parchment paper with the scored dough onto a baking sheet. Preheat your oven to the recommended temperature (typically around 350-375°F or 175-190°C). Bake for approximately 25-30 minutes. However, baking times can vary significantly based on your oven, the thickness of your dough, and the size of your baking sheet. Start checking at the 15-minute mark, and then every 5 minutes thereafter. You're looking for a dark brownish-green color and a firm texture. The crackers should feel firm to the touch but will crisp up further as they cool.
6. Cool and Enjoy
Once baked, remove the baking sheet from the oven and let the entire sheet of crackers cool on it for at least 15 minutes. It's important not to try to remove them immediately, as they will still be somewhat pliable. As they cool, they will become delightfully crisp. Once cooled, break them along your scored lines and enjoy your delicious, simple homemade kale crackers!
Tips for Cracker Perfection: Ensuring Uniformity and Crispness
While the recipe for simple homemade kale crackers is forgiving, a few expert tips can elevate your baking experience from good to absolutely perfect, guaranteeing a consistent crunch every time.
Mastering Dough Consistency
The dough consistency is key. If your dough feels too dry and crumbly, it won't roll out easily and might result in brittle, uneven crackers. Gradually add a teaspoon of water at a time until it's pliable and forms a ball. Conversely, if it's too sticky and unmanageable, sprinkle in a small amount of extra flour. Different flours absorb liquid differently, and even the moisture content of your kale can vary, so trust your instincts and adjust as needed. The ideal dough should be sticky enough to hold together but not so wet that it clings excessively to your hands or the rolling pin.
The Art of Even Rolling
This is perhaps the most crucial step for uniform baking. If parts of your dough are thicker than others, you'll end up with some crackers that are perfectly crisp and others that are still soft or even burnt. Take your time when rolling. Using two sheets of parchment paper (one below, one on top) helps immensely in achieving an even thickness and prevents sticking. Some bakers even use rolling pin guides (small wooden strips placed on either side of the dough) to ensure a perfectly uniform thickness across the entire sheet.
Monitoring Baking Time and Temperature
Oven temperatures can vary significantly, even within the same make and model. Always consider the suggested baking time as a guideline. Start checking your crackers at the 15-minute mark. You want them to be a deep brownish-green color. If they're browning too quickly on the edges but still soft in the middle, you might need to reduce your oven temperature slightly or rotate the baking sheet. For a truly crisp cracker, ensure all moisture has evaporated. Don't be afraid to let them bake for a few extra minutes if they still feel soft, but keep a close eye to prevent burning.
Cooling for Crispness
Resist the urge to immediately remove the crackers from the baking sheet after they come out of the oven. They will still be slightly pliable and fragile. Allowing them to cool completely on the hot baking sheet is essential for them to firm up and achieve their ultimate crispness. As they cool, any remaining moisture evaporates, and the crackers solidify into that satisfying crunch you're aiming for.
Flavor Variations and Storage
While delicious as is, don't hesitate to get creative with your simple homemade kale crackers. Before baking, sprinkle with dried herbs like oregano, thyme, or rosemary. A dash of garlic powder, onion powder, or even nutritional yeast can add a cheesy, umami flavor. For a spicy kick, add a pinch of chili flakes. Once baked and cooled, store your crackers in an airtight container at room temperature. They typically stay fresh and crispy for up to a week, making them perfect for meal prepping healthy snacks.
Enjoying Your Guilt-Free Crunch: Serving Suggestions and Storage
Congratulations! You've successfully baked a batch of delicious, simple homemade kale crackers, and now it's time to enjoy the fruits of your labor. These crackers are incredibly versatile, making them a fantastic addition to almost any snack or meal occasion.
Their sturdy, satisfying crunch makes them an ideal companion for a wide array of dips. Pair them with a classic hummus, a creamy spinach-artichoke dip, a vibrant homemade pesto, or even a simple Greek yogurt dip seasoned with herbs. For a more substantial snack, top them with avocado and a sprinkle of everything bagel seasoning, a slice of your favorite cheese, or a dollop of cream cheese with smoked salmon. They also make an excellent, healthy accompaniment to soups and salads, adding a delightful textural contrast.
The beauty of making your own crackers is the assurance of wholesome ingredients and the absence of hidden sugars, unhealthy fats, or artificial preservatives often found in store-bought options. This truly makes them a guilt-free pleasure, perfect for any time of day.
To keep your hard-earned crackers at their crisp best, ensure they are completely cooled before storing them. Once cool, transfer them to an airtight container. Kept at room temperature, they will maintain their freshness and satisfying crunch for up to 5-7 days. If they start to lose a bit of their crispness, a quick refresh in a warm oven for a few minutes can often bring them back to life.
So, the next time that afternoon craving hits, or you're looking for a genuinely healthy and utterly delicious snack to share with family and friends, remember the simple joy of baking your own homemade kale crackers. They are a testament to how effortlessly you can infuse your diet with more greens and fiber, transforming basic ingredients into a culinary delight. Get ready to crunch your way to better health, one delicious cracker at a time!
